Hello. I am Paul Kinlan.

I lead the Chrome and the Open Web Developer Relations team at Google. Exploring the intersection of modern web design and future-facing technologies.

1 min read

Light fork of SimpleImage for Editor.js

I love Editor.js. It's a nice simple block editor that I use to write these posts. It has a host of good plugins that enable you to extend the capabilities of the editor, such as the SimpleImage tool that allows you to add images to the editor without having to upload them.

It's the SimpleImage that I briefly want to talk about. It's a good tool, but it has two problems, 1) I can only drag images on to the editor, I can't "add" an image; 2) It uses base64 data URL's to host the image, this is a waste of memory and it should be using blob URLs.

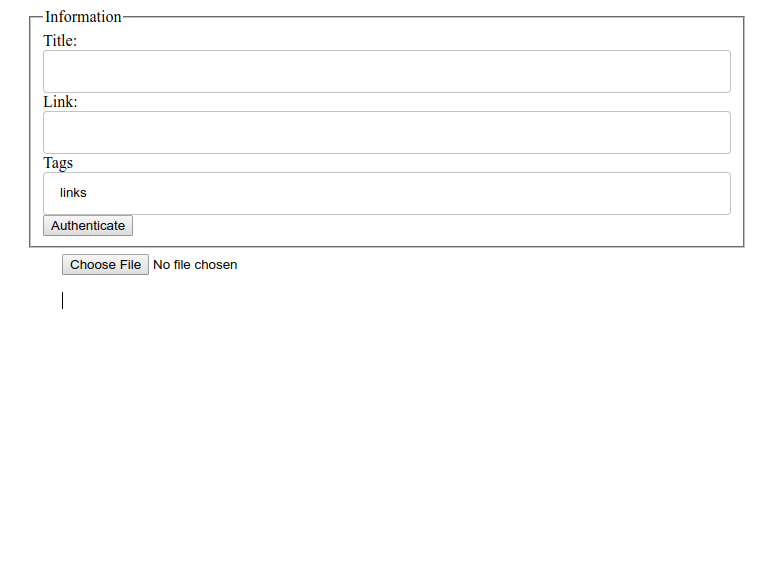
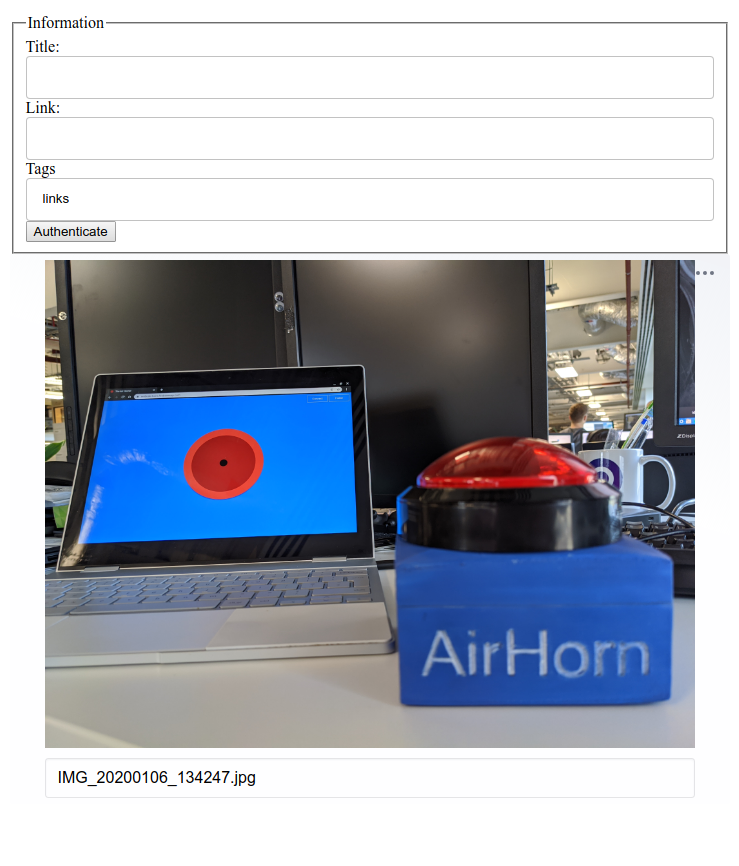
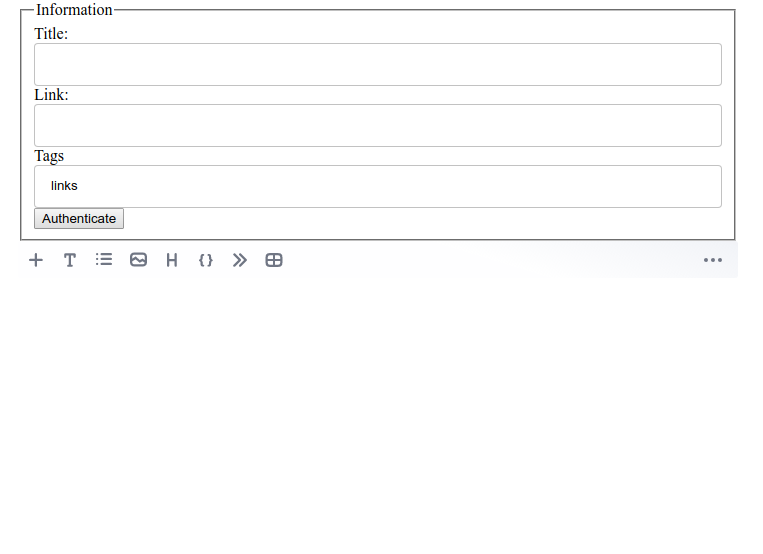
I wrote a simple fork that addresses these two pain points. The first is that it uses less memory because it uses blob URLs. The second is that now you can add images in when adding in a new Block to the editor.

In fact, the following images are added using this new way.
Add Image
Choose file
Image added

Stay in the loop.

I'm trialing a newsletter. Join for monthly insights into web dev, Chrome, and the open web.

alternate_email

Get in touch

Open to chat about Chrome or Web development.

Book a consultation
2 min read

Airhorner with added Web USB

This new year Andre Bandarra left me a little surprise on my desk: A physical airhorner built with Web USB!

Check it out, well actually it will be hard, Andre created a small sketch for an Arduino Uno that connects over USB that is not yet available, however the code on the site is rather neat and not too complex if you are experienced with any form of USB programming.

Andre's code connects to the device and waits for the user to approve, configures the connection, and then continuously reads from the device looking for the string 'ON' (which is a flag that is set when the button is pressed).

const HardwareButton = function(airhorn) {
  this.airhorn = airhorn;
  this.decoder = new TextDecoder();
  this.connected = false;
  const self = this;
  this._loopRead = async function() {
    if (!this.device) {
      console.log('no device');
      return;
    }

    try {
      const result = await this.device.transferIn(2, 64);
      const command = this.decoder.decode(result.data);
      if (command.trim() === 'ON') {
        airhorn.start({loop: true});
      } else {
        airhorn.stop();
      }
      self._loopRead();
    } catch (e) {
      console.log('Error reading data', e);
    }
  };

  this.connect = async function() {
    try {
      const device = await navigator.usb.requestDevice({
        filters: [{'vendorId': 0x2341, 'productId': 0x8057}]
      });
      this.device = device;
      await device.open();
      await device.selectConfiguration(1);
      await device.claimInterface(0);
      await device.selectAlternateInterface(0, 0);
      await device.controlTransferOut({
        'requestType': 'class',
        'recipient': 'interface',
        'request': 0x22,
        'value': 0x01,
        'index': 0x00,
      });
      self._loopRead();
    } catch (e) {
      console.log('Failed to Connect: ', e);
    }
  };

  this.disconnect = async function() {
    if (!this.device) {
      return;
    }

    await this.device.controlTransferOut({
      'requestType': 'class',
      'recipient': 'interface',
      'request': 0x22,
      'value': 0x00,
      'index': 0x00,
    });
    await this.device.close();
    this.device = null;
  };

  this.init = function() {
    const buttonDiv = document.querySelector('#connect');
    const button = buttonDiv.querySelector('button');
    button.addEventListener('click', this.connect.bind(this));
    button.addEventListener('touchend', this.connect.bind(this));
    if (navigator.usb) {
      buttonDiv.classList.add('available');
    }
  };

  this.init();
};

If you are interested in what the Arduino side of things looks like, Andre will release the code soon, but it's directly inspired by the WebUSB examples for Arduino.

1 min read

Matsushima, Miyagi

Matsushima, Miyagi is a beautiful seaside town an hour from Sendai. Famous for its fresh oysters, islands, and red bridges, it's a charming place to visit. While the 2011 tsunami impacted the area, the town has recovered remarkably well. I found the quiet, cold atmosphere when I went added to its appeal.
1 min read

Yamadera, Yamagata

I took a day trip to the 1000-year-old Yamadera Temple in Yamagata, Japan. The climb to the top wasn't too difficult and offered breathtaking views of the valley. It was a quiet day with few other visitors, unlike busier weekends and holidays. The oldest building there is around 400 years old.
3 min read

Modern Mobile Bookmarklets with the ShareTarget API

Mobile devices lack the bookmarklet functionality found in desktop browsers. However, the ShareTarget API offers a potential workaround. This API allows web apps to be installed and receive native share actions, similar to how the Twitter PWA handles shared links and files. By leveraging this API, developers can create mini-apps that perform actions on shared data. This approach involves defining how to receive data in a manifest file and handling the request in a service worker. I've created examples for Hacker News, Reddit, and LinkedIn demonstrating how to utilize the ShareTarget API. While not a perfect replacement for desktop bookmarklets, this offers a new level of hackability for mobile web experiences.
1 min read

Pixel 4XL Infrared sensor via getUserMedia

The Pixel 4 XL's infrared camera, used for face detection, can be accessed through the standard getUserMedia API. A live demo showcasing this can be found at the provided link. Using the IR camera via getUserMedia blocks the phone's face unlock feature. This post invites readers to brainstorm potential applications of user-accessible infrared camera capabilities. An update mentions Francois Beafort's contribution to Blink, adding 'infrared' to the camera name if the device supports it, making camera identification more convenient.
1 min read

Harlech Castle

Had a wonderful time exploring the magnificent Harlech Castle in North Wales with my kids. The castle is well-preserved and steeped in history, perched atop a hill with breathtaking views of Snowdonia and the Irish Sea. Unlike my previous visit to Carlisle Castle, this trip was purely focused on enjoying the stunning scenery.
2 min read

Puppeteer Go

I love Puppeteer - it lets me play around with the ideas of The Headless Web - that is running the web in a browser without a visible browser and even build tools like DOM-curl (Curl that runs JavaScript). Specifically I love scripting the browser to scrape, manipulate and interact with pages.

One demo I wanted to make was inspired by Ire's Capturing 422 live images post where she ran a puppeteer script that would navigate to many pages and take a screenshot. Instead of going to many pages, I wanted to take many screenshots of elements on the page.

The problem that I have with Puppeteer is the opening stanza that you need to do anything. Launch, Open tab, navigate - it's not complex, it's just more boilerplate than I want to create for simple scripts. That's why I created Puppeteer Go. It's just a small script that helps me build CLI utilities easily that opens the browser, navigates to a page, performs your action and then cleans up after itself.

Check it out.

const { go } = require('puppeteer-go');

go('https://paul.kinlan.me', async (page) => {
    const elements = await page.$$("h1");
    let count = 0;
    for(let element of elements) {
      try {
        await element.screenshot({ path: `${count++}.png`});
      } catch (err) {
        console.log(count, err);
      }
    }
});

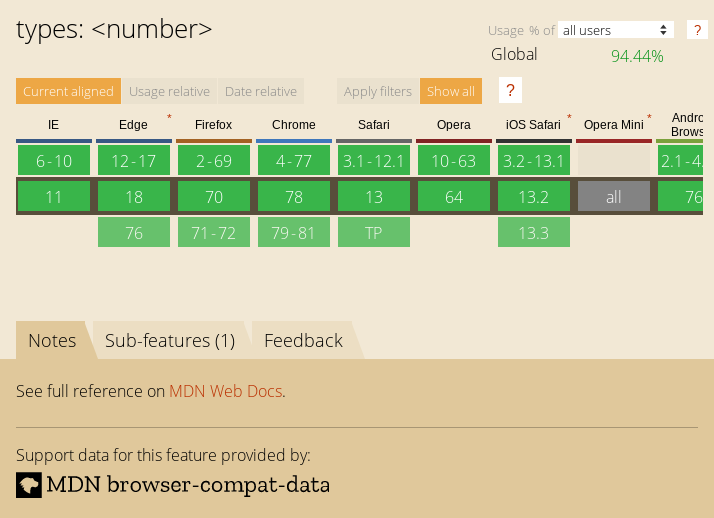
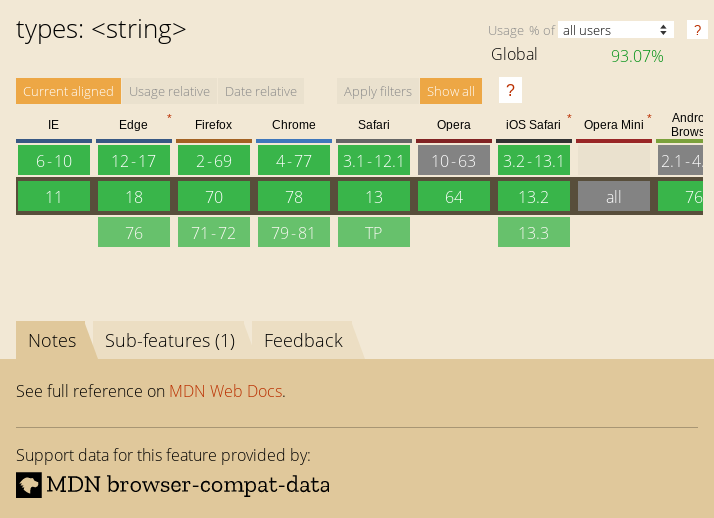
The above code will find the h1 element in my blog and take a screenshot. This is nowhere near as good as Ire's work, but I thought it was neat to see if we can quickly pull screenshots from canisuse.com directly from the page.

const { go } = require('puppeteer-go');

go('https://caniuse.com/#search=css', async (page) => {
    const elements = await page.$$("article.feature-block.feature-block--feature");
    let count = 0;
    for(let element of elements) {
      try {
        await element.screenshot({ path: `${count++}.png`});
      } catch (err) {
        console.log(count, err);
      }
    }
});
4.png
3.png
2.png
1.png
0.png

Enjoy!

2 min read

A simple video insertion tool for EditorJS

I really like EditorJS. It's let me create a very simple web-hosted interface for my static Hugo blog.

EditorJS has most of what I need in a simple block-based editor. It has a plugin for headers, code, and even a simple way to add images to the editor without requiring hosting infrastructure. It doesn't have a simple way to add video's to the editor, until now.

I took the simple-image plugin repository and changed it up (just a tad) to create a simple-video plugin (npm module). Now I can include videos easily in this blog.

If you are familar with EditorJS, it's rather simple to include in your projects. Just install it as follows

npm i simple-video-editorjs

And then just include it in your project as you see fit.

const SimpleVideo = require('simple-video-editorjs');

var editor = EditorJS({
  ...
  
  tools: {
    ...
    video: SimpleVideo,
  }
  
  ...
});

The editor has some simple options that let you configure how the video should be hosted in the page:

  1. Autoplay - will the video play automatically when the page loads
  2. muted - will the video not have sound on by default (needed for autoplay)
  3. controls - will the video have the default HTML controls.

Below is a quick example of a video that is embedded (and showing some of the options).

Anyway, I had fun creating this little plugin - it was not too hard to create and about the only thing that I did was defer the conversion to base64 which simple-images uses and instead just use the Blob URLs.